With this love in mind, I squealed (audibly, at work) when I found an amazing Pin with links to 50+ high-end-retail-knock-off DIY projects. The picture below was my first inspiration, a place setting from West Elm. I love the imperfect perfection, simplicity and cool calm of the dark blue on stark white.
50+ Retail Knock-Offs Pin

So I dug around through my vast collection of DIY Pins and mashed together the ideas from several similar themes; here's what I came up with: porcelain paints on dollar store mugs, baked at 375 degrees for 35 minutes. I picked up the paints on clearance at Michael's; they were $2.49/ea and the mugs were $1/ea. Quick note on the mugs: minimal selection (obviously; it's the dollar store) and one of the handles broke while I was painting it. So I ended up with only one mug, but that was fine for my first experiment. The project was surprisingly easy, with minimal set-up/clean-up and took less than 30 minutes, start to finish. Once you get the hang of it, I'm certain you could bang out a set of four in less than an hour.
Sharpie on Porcelain Pin
The hardest part for me was deciding what sort of style/pattern I wanted to use for the mug. (Visit my Pattern Possibilities Board if you get stuck!) I was nervous about ruining the mugs but the paint is easily washable, before it is baked. I tested out a few designs and found that it's a bit challenging to get the hang of the flow of the paint and the curvature of the mug. I did a few trials on plain paper and then let the paint fly in a lovely, imperfect pattern that turned out exactly as I'd hoped it would.
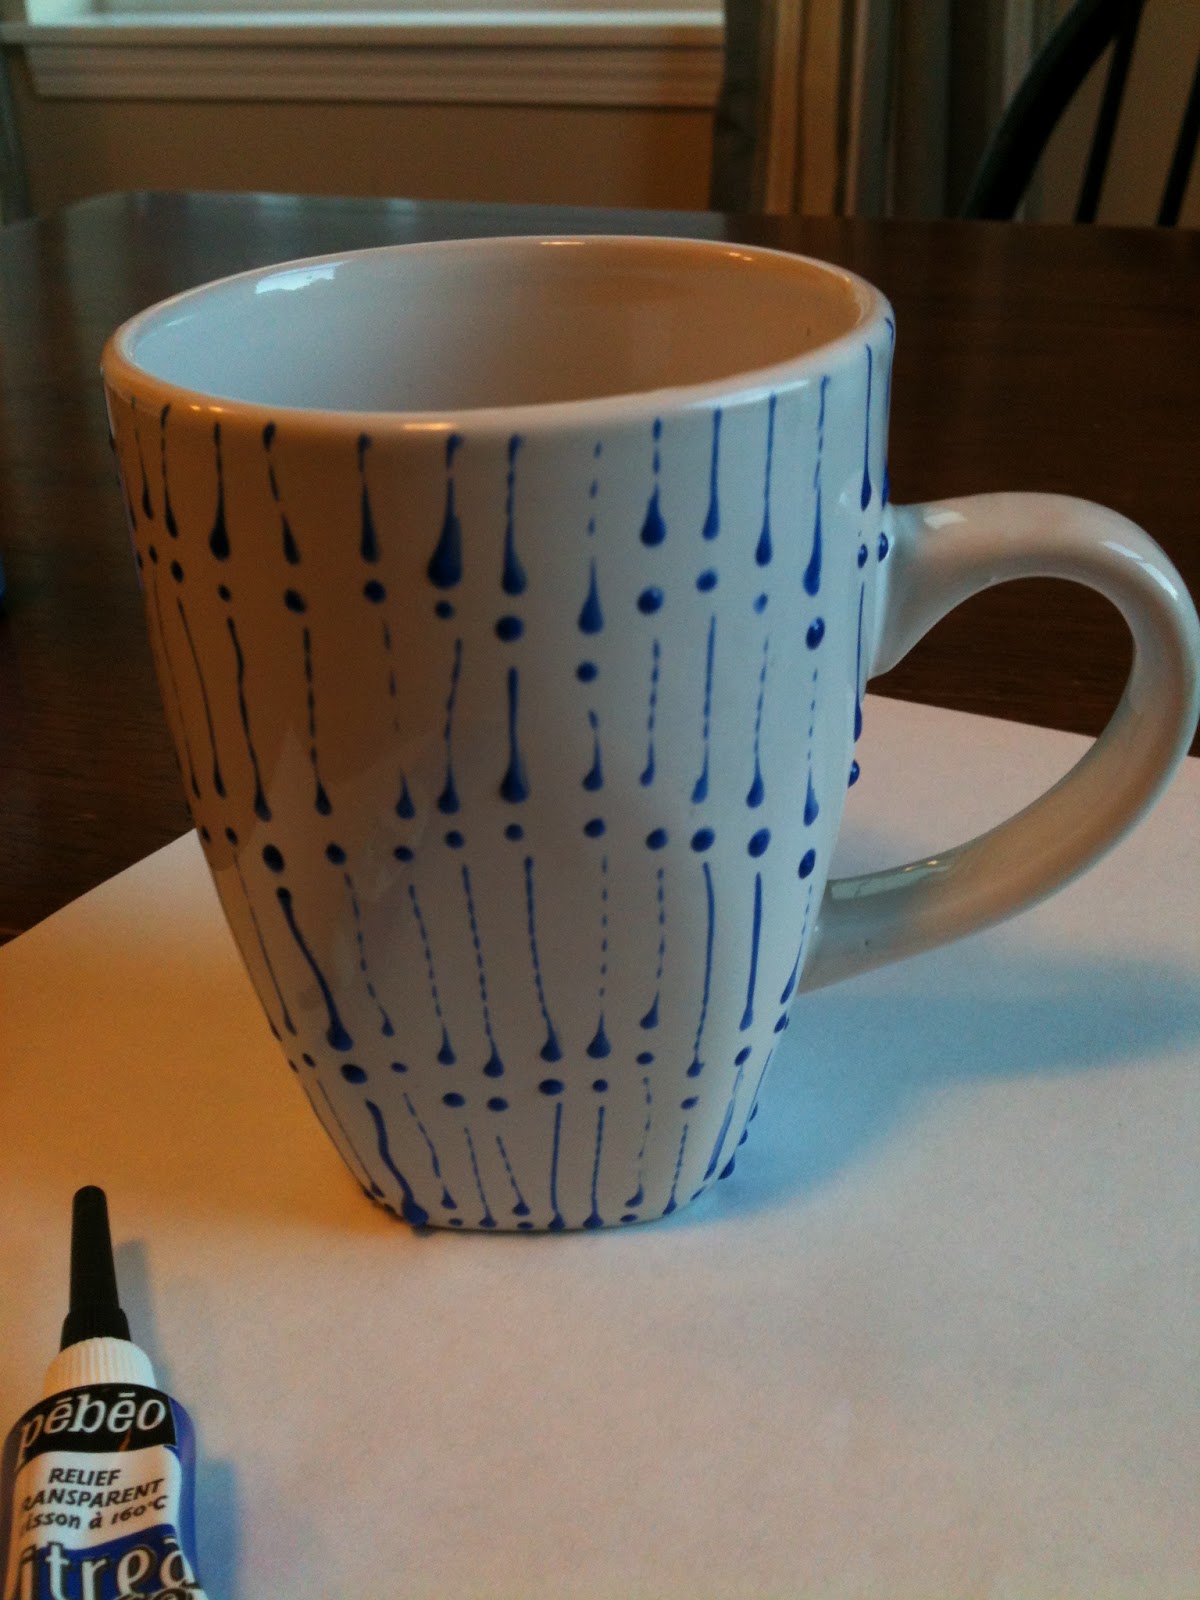
Below you can see my results of my own, original design as well as a picture of the specific paint used for this project. I didn't use the pewter color, though it is shown in the photo. I let the paint dry for 24 hours, per the directions, and then baked the mug according to the specs on the paint packaging. I was absolutely thrilled with the end result and gave it as part of a house-warming gift. This is, to date, my favorite Pinterest production.


No comments:
Post a Comment